How to Launch Your First Android App on Google Play in 2026 — The Complete Roadmap
Complete roadmap for launching your first Android app on Google Play in 2026. Covers developer account setup, Closed Testing, production access, and post-launch optimization.
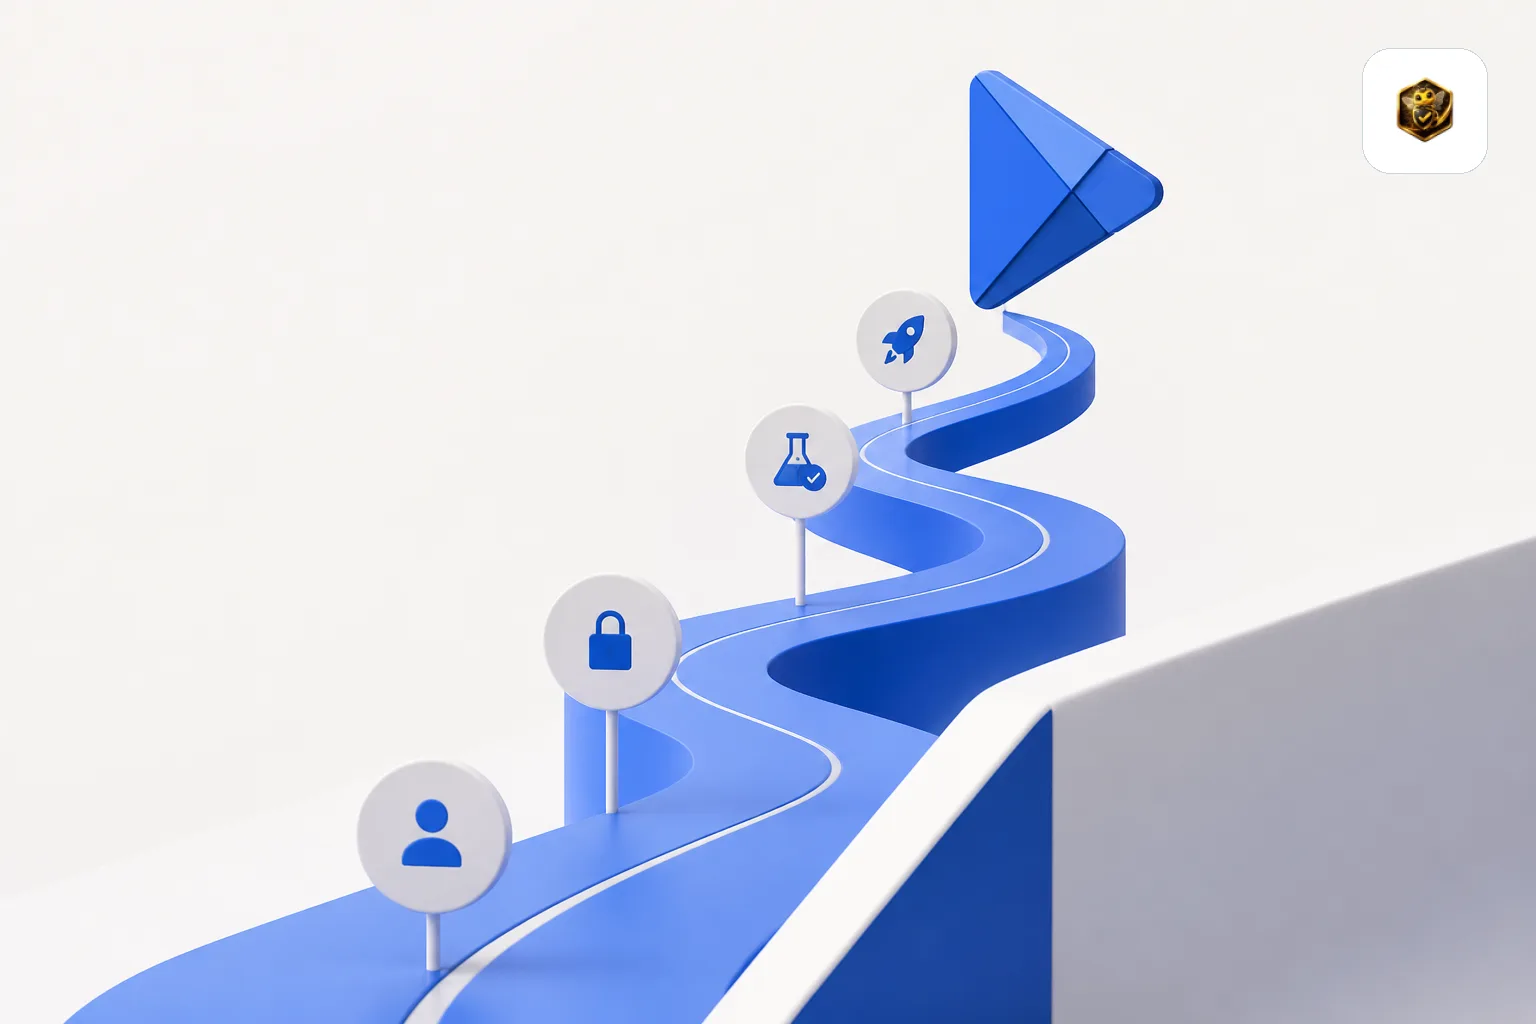
Need testers who stay active for all 14 days?
TesterBee matches you with 12 real Android testers in under 24 hours. Refund if Google rejects you over tester engagement.
On this page
- 01Phase 1: Developer Account Setup (Day 1)
- 02Phase 2: App Development and Preparation (Weeks 1-4+)
- 03Phase 3: Closed Testing (Days 1-14 of Testing)
- 04Phase 4: Production Access Application (Day 14-16)
- 05Phase 5: Production Launch (Day 16+)
- 06Phase 6: Post-Launch (Ongoing)
- 07Common First-Time Mistakes
- 08App Store Optimization (ASO) for New Apps
- 09Marketing Your First App on a Budget
- 10Handling User Reviews and Ratings
- 11Monetization: When and How to Start
- 12Related resources
Launching your first Android app on Google Play in 2026 is different from even a few years ago. Google has added mandatory Closed Testing requirements, tightened review processes, and introduced new policies around privacy and data safety. This roadmap covers every phase, from creating your developer account to your first 1,000 installs.
This post is the high-level roadmap. If you want the click-by-click Play Console walkthrough, see our separate step-by-step guide to publishing an Android app on Google Play. And for the testing phase specifically — how to recruit and manage your 12 testers — see our complete guide to getting 12 testers.
Phase 1: Developer Account Setup (Day 1)
The first step is creating a Google Play developer account. Go to play.google.com/console/signup and complete the registration:
- $25 one-time registration fee paid via credit/debit card or Google Play balance
- Provide your legal name, email address, and contact information (this will be displayed publicly on your store listing unless you choose a different display name)
- Complete identity verification if prompted (Google may ask for government ID for new accounts)
- Accept the Google Play Developer Distribution Agreement
Important for 2026: if your account was created after November 13, 2023, you are subject to the 12-testers-for-14-days Closed Testing requirement. There is no way around this — plan your timeline accordingly.
Phase 2: App Development and Preparation (Weeks 1-4+)
Before you touch Play Console, make sure your app is ready:
- Build a functional app that provides real value — Google reviewers reject apps that are little more than templates or webviews
- Implement a privacy policy — required for all apps. Display it within your app and host it at a public URL
- Sign your app with a release keystore — debug keys are rejected by Play Console
- Build as Android App Bundle (.aab) — APK-only uploads are deprecated for new apps
- Target API level 34+ — Google requires new apps to target a recent Android API level. Check current requirements before building
- Prepare store listing assets: app icon (512x512px), feature graphic (1024x500px), screenshots (at least 2 for phone, recommended 4+), short description (80 chars), and full description (minimum 100+ words of genuine content)
Phase 3: Closed Testing (Days 1-14 of Testing)
This is the phase that surprises most first-time developers. Since November 2023, Google requires 12 real testers actively using your app for 14 consecutive days before granting production access.
- Day 1: Upload your app to the Closed Testing track in Play Console. Generate your opt-in link and share it with your 12 testers. Testers should install and open your app.
- Days 2-7: Testers use your app daily. Collect feedback, bug reports, and crash logs. Push at least one update during this period — Google expects to see that you acted on feedback.
- Days 8-14: Maintain daily tester engagement. Document all feedback received and changes made. Prepare your production access questionnaire answers.
Finding 12 reliable testers is the hardest part. Friends and family often lose interest. Reddit and Discord testers have high dropout rates. Services like TesterBee provide 12 verified testers with a 14-day engagement guarantee and a full refund if your production access is rejected. See our habit tracker case study for a real example of how this works.
Phase 4: Production Access Application (Day 14-16)
After 14 days of active Closed Testing, you can apply for production access. This is a separate step from publishing — it is a gate that Google added specifically for new developer accounts.
- Check prerequisites: 12+ testers opted in for 14+ consecutive days, at least one update pushed during testing, documented feedback and changes, crash rate below ~1%, no policy violations
- Complete the questionnaire: Google asks about what feedback you received, what changes you made, how testers engaged with your app, and why you believe your app is ready for production. Be specific — mention actual bug names, version numbers, and metrics. Vague answers lead to rejection.
- Submit and wait: Review typically takes 1-3 business days. Some reviews complete in 24 hours; others take up to 7 days during high-volume periods.
Phase 5: Production Launch (Day 16+)
Once production access is granted, you can create your production release:
- Go to Production in the left sidebar and click Create new release
- Upload the same .aab (or an updated version) and add release notes
- Review your store listing one final time — check for typos, broken links, and policy compliance
- Click Start rollout to production
Your app is now live on Google Play. It may take a few hours to appear in search results.
Phase 6: Post-Launch (Ongoing)
- Monitor Android vitals: crash rate, ANR rate, app startup time. Google uses these metrics to rank your app in search results.
- Respond to reviews: both positive and negative. Google favors developers who engage with their users.
- Push regular updates: apps that are updated frequently rank better and have higher user retention.
- Track organic growth: monitor install sources to understand where your users come from. Invest in the channels that work.
- Good news: once your account has one published production app, future apps typically do not require repeating the Closed Testing requirement.
Common First-Time Mistakes
- Skipping the Closed Testing buffer: having exactly 12 testers is risky. If one drops out, you fall below the minimum. Always have 14-15 testers as a buffer.
- Rushing the questionnaire: the production access questionnaire is not a formality — it is a real review. Vague one-sentence answers lead to rejection.
- No privacy policy: your app will be suspended if you do not have a valid privacy policy URL. This is not optional.
- Using copyrighted assets: Google's review includes checking for trademark and copyright violations in your store listing. Use only assets you own or have licensed.
- Launching too early: an app with a high crash rate or missing features will get negative reviews that are hard to recover from. Use Closed Testing to identify and fix issues before real users see your app.
App Store Optimization (ASO) for New Apps
ASO is the process of optimizing your Play Store listing to rank higher in search results and convert more visitors into installs. For a new app, ASO is your primary source of organic growth. Here is what matters most:
- App title (30 characters): include your main keyword naturally in the title. For example, "FitTrack: Workout Planner & Gym Log" is better than just "FitTrack." The title is the strongest ranking factor in Google Play's search algorithm. Research what users search for and incorporate the most relevant term.
- Short description (80 characters): this appears above the fold in search results. Make it compelling. Focus on the primary benefit — what problem does your app solve? Example: "Log workouts, track progress, and reach your fitness goals with personalized training plans."
- Full description (4000 characters max): use the first 250 characters for your strongest pitch — this is what users see before tapping "Read more." Include keywords naturally throughout, but do not keyword-stuff. Focus on benefits, not just features. Break up text with bullet points and short paragraphs for readability.
- App icon: this is your first visual impression. Use a simple, recognizable design that looks good at small sizes. Avoid text in the icon. Test it at 48x48px — if it is unclear at that size, simplify it. Consider how it looks against both light and dark backgrounds.
- Feature graphic (1024x500px): this is the large banner at the top of your store listing. It should communicate your app's core value proposition at a glance. Include your app name or logo, but keep text minimal — most users skim, they do not read.
- Screenshots: upload at least 4 screenshots for phones, and additional ones for tablets if your app supports them. Add captions that describe key features. The first two screenshots matter most — make them show your app's best and most unique capabilities. Localize screenshots for different languages if you target multiple markets.
Marketing Your First App on a Budget
Most first-time developers have zero marketing budget. Here are effective strategies that cost nothing but time:
- Product Hunt launch: Product Hunt is not just for SaaS products — Android apps can launch there too. A well-timed Product Hunt launch can generate hundreds of installs and early reviews. Prepare a compelling tagline, description, and screenshots. Engage with commenters and respond to every question.
- Reddit communities: subreddits like r/androidapps, r/androiddev, and niche communities related to your app's topic are excellent for organic promotion. Do not just drop a link — create a genuine post explaining why you built the app, what problem it solves, and ask for feedback. Reddit users can smell marketing from a mile away; authenticity wins.
- YouTube and TikTok content: a short demo video showing your app in action can drive significant traffic. For TikTok, keep it under 60 seconds and focus on the most impressive feature. For YouTube, a longer walkthrough (3-5 minutes) works better. You do not need professional production — screen recordings with voiceover are sufficient.
- Build an email list early: create a simple landing page (Carrd, Linktree, or a custom page) where interested users can sign up for launch notifications. Even 50-100 emails collected before launch gives you an initial install base that boosts your app's ranking on day one.
- Cross-promotion: find other indie developers with apps in related categories (not direct competitors) and offer to mention each other's apps. A fitness app and a meal planning app, for example, share an audience without competing.
Handling User Reviews and Ratings
Reviews are social proof that heavily influence install decisions. A 4-star app with 50 reviews converts far better than a 5-star app with 2 reviews. Here is how to manage reviews effectively:
- Respond to every review, especially negative ones. A thoughtful response to a 2-star review shows potential users that you care. Apologize for the issue, explain how you are fixing it, and invite the reviewer to update their rating after the fix. Never argue with reviewers or blame them for the problem — even if they are wrong.
- Do not buy reviews or offer incentives for 5-star ratings. Google explicitly prohibits incentivized reviews. If detected, your reviews will be removed and your app may be suspended. You can ask for honest reviews, but you cannot offer rewards (coins, premium features, giveaways) in exchange for positive ratings.
- Use in-app prompts wisely. Prompt users to rate your app after a positive moment — completing a workout, finishing a level, achieving a goal. Never interrupt onboarding or show a rating prompt on first launch. Use the Google Play In-App Review API so the rating is submitted directly to the Play Store without leaving your app.
- Learn from negative reviews. If multiple users complain about the same issue, it is a real problem. Fix it and mention the fix in your update notes: "Fixed the issue where workouts were not saving — thank you to everyone who reported this." This shows active development and converts negative reviewers into loyal users.
Monetization: When and How to Start
Deciding when and how to monetize your first app is a strategic decision. Here are the main options:
- Free with ads: easiest to grow but lowest revenue per user. Use Google AdMob for banner and interstitial ads. Be careful with ad placement — intrusive ads drive uninstalls. A good rule: banner ads at the bottom of the screen are acceptable; full-screen interstitials between every action are not.
- Freemium with in-app purchases: the app is free but premium features, content, or virtual goods require payment. This is the most common model for successful apps. Make the free version genuinely useful — if users feel forced to pay, they uninstall instead. The free tier should demonstrate enough value that users want more, not enough that they never need to upgrade.
- Paid app: users pay once to download. This model is declining on Google Play — most users expect free apps. It works for niche professional tools and apps with a strong brand or existing audience, but is an uphill battle for a first-time developer.
- Subscription: recurring revenue for ongoing value. Works best for content, services, or apps that provide continuous new value (workout plans, learning content, cloud storage). Google Play takes 15% of subscription revenue (instead of 30%) after a subscriber has been active for 12 months.
For most first-time developers, the freemium model offers the best balance of growth and revenue. Start with a free app, build an audience, and add premium features once you understand what your users value most.
Launching your first app takes planning, patience, and attention to detail. But with the right preparation, you can navigate the process smoothly and join the millions of developers who have successfully published on Google Play.
Related resources
- How to Publish an Android App on Google Play in 2026 — complete step-by-step publishing guide
- How to Pass Google Play Production Access — questionnaire tips and common mistakes
- Production Access Questionnaire — Template Answers — ready-to-use answers for every question
- Free: Production Access Checklist — interactive 22-point checklist to track your progress
- Get 12 testers for your first app — start your Closed Testing journey
- Google Play Closed Testing official requirements

Senior full stack developer specializing in Laravel, React, and Firebase. Helped 1,200+ Android developers pass Google Play Closed Testing and publish apps. Expert in Play Console, production access, and Android app publishing.
Get 12 testers into your closed test in 24 hours
Matched Android testers who open your app every day of the 14-day window, so your production access review has real engagement to look at.
Start your closed testRelated articles
Google Play Console Registration Fee 2026: $25 Cost and Verification Time
The Google Play Console registration fee is a one-time $25. Here is exactly what it covers, what it does not, and how long identity, device, and organization verification actually take in 2026.
Google Play Pre-Launch Report: Catch Bugs Before Your Testers
Every AAB you upload gets tested automatically. Learn how to read the Pre-Launch Report, fix the crashes and security issues it finds, and ship a stable app to your 12 testers.
How to Publish a Flutter App on Google Play in 2026 — Complete Step-by-Step Guide
Complete guide for Flutter developers to publish an Android app on Google Play. Covers AAB builds, Play Console setup, Closed Testing with 12 testers, production access, and release.